
This post contains affiliate links.
Pies are such versatile creations. They can be made sweet or savory and will be delicious either way! Every time I eat a pie, my absolute favorite part is the pie crust as it adds a flaky buttery texture and flavor to every bite! But making pie crust is a difficult task with many problems such as the dough shrinking.
As a general rule, a pie crust shrinks when the dough has not rested enough or is left out at room temperature for too long. When working with pie crust, it must remain cold until it enters the oven. If the oven isn’t preheated properly, the pie crust will shrink as well.
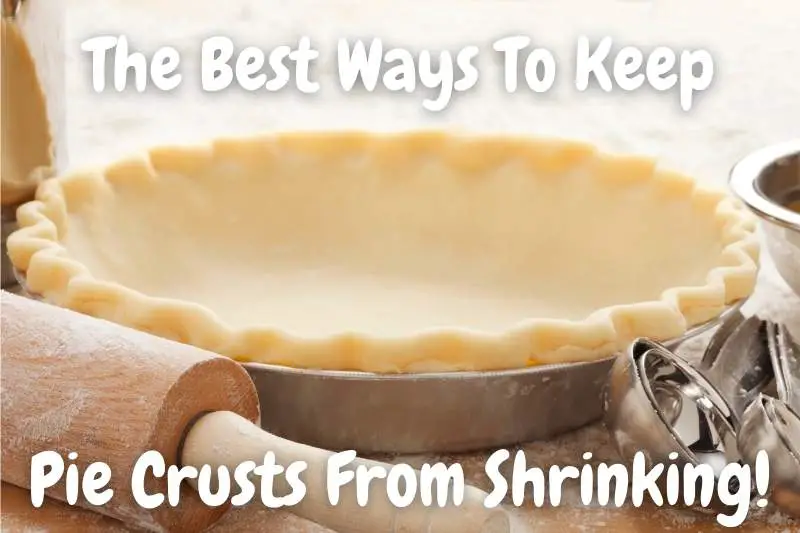
There are many aspects to why pie crust shrinks and how to prevent it from happening. Knowing why your pie crusts shrink can help you avoid having a small pie that gets cracked. Keep reading to find the 8 best ways to keep your pie crust from shrinking.
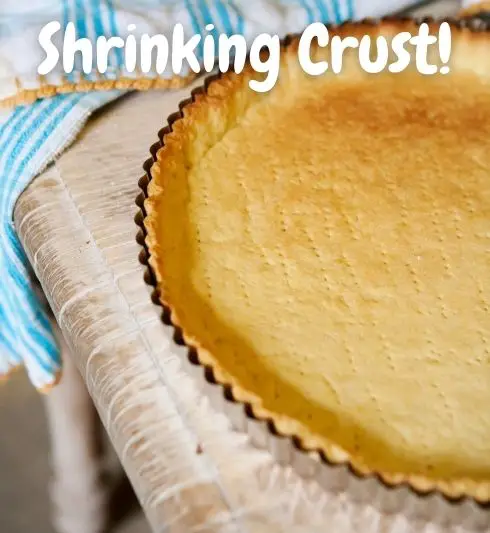
Why Does My Pie Crust Shrink?
Generally speaking, a pie crust can shrink because you didn’t give your dough proper time to rest or because you did not keep it cold enough. Other reasons why your pie crust may have shrunk include your oven wasn’t hot enough, you used the wrong pan to bake it in, or you overworked your dough.
During the winter months, both because of the holidays and the colder weather, making pie crusts is a regular part of my repertoire.
Make Sure Your Pie Crust Does Not Disconnect From The Pie Pan!
I’ve been using Ceramic Pie Weights for as long as I could remember and it saved my pie crusts on so many occasions. As a general rule, you should use about 2.2 lbs of pie weights for every 9-inch pie you make. I use these Ceramic Pie Weights that you can check out on Amazon!
I love a good chicken pot pie when the temp is low outside, and my Thanksgiving and Christmas can’t go by without me being tasked to make a plethora of pies and cobblers including my famous peach cobbler.
Because of my time spent making a number of pie crusts from scratch, I’ve learned a thing or two about making sure they come out perfectly flaky and baked each time.
I’ve dealt with my fair share of shrunken pie crusts, and now because of those blunders, I know how to prevent them from happening again, and now you can too by following along!
*By the way, I recently wrote an article about The Best Pie Weight Substitutes. This article breaks down all the substitutes for pie weights that you might have at home right now to use for your pie baking adventures. You can check out this article here!
If I need to pre-bake a pie crust I always use pie weights to prevent it from poofing up.
1. Give your dough proper time to rest
If your pie crust has shrunk, one of the most likely reasons why is that you didn’t allow your dough to rest properly. When you allow your dough to rest, you allow its gluten to also relax which aids in preventing your dough from shrinking while baking.
There are certain times during the process of making and forming the dough for your pie crust that you need to allow it to rest.
This rest is necessary because without allowing it, you run the risk of overworking your dough and increasing the chances that your pie crust will shrink.
The key moments when handling your dough that you need to allow it to rest are as follows:
- During & following the mixing of your dough
- After rolling out your dough
- Once you’ve put your dough into its pan
When mixing your dough, you may find that your dough isn’t coming together as expected. There can be a number of reasons for this, but one of the primary causes is that you worked too slowly so your once cold ingredients are starting to warm and change shape.
This can obviously lead to a less than ideal outcome for your crust, so if you find this happening to you, then you will need to let your dough rest in the fridge/freezer for 10 to 15 minutes or until it’s chilled again before getting back to work.

*By the way, I recently wrote an article about The Best Ways To Prevent Your Pie Crusts From Shrinking. This article breaks down all the reasons why your pie crusts might be shrinking and how to avoid it! You can check out this article here!
When I make crusts during the warmer months, because of the high humidity-prone climate I live in, I find that I have to do this regularly.
If when making your dough it comes together fine, then you will still need to let it rest until it’s cold after you’ve mixed it.
This typically takes about 30 minutes in the fridge and 15 in the freezer.
The final key moment when you’ll need to rest your dough is after you’ve rolled it out. The process of rolling out your pie crust really works the gluten in your dough, so it’s essential that you let it rest following this step for above five minutes at least. You do not have to chill it at this point.
You just need to leave it alone.
The final key moment when you absolutely need to rest your dough is after you’ve shaped it into its pan. At this point, you definitely need to chill your crust, and I recommend doing so by putting it in your freezer until you’re ready to put it in your oven.
*By the way, I recently wrote an article about The Best Ways To Prevent A Soggy Pie Crust. This article breaks down all the ways to make sure your crust does not come out soggy after it’s baked. You can check out this article here!
2. Keep your dough cold
As a general rule, it’s imperative that ice-cold ingredients are used while making the dough for your pie crust. This means that your butter and your milk or water should be cold during the entire process of making your dough. If you fail to do this, then chances are that your pie crust will shrink.
Next to allowing your dough to rest, one of the most important things you can do to prevent your pie crust dough from shrinking is to use cold ingredients when making your dough.
Your butter should be in the freezer until you’re ready to immediately use it, and you should work quickly to form your dough before the butter starts to warm.
If you’re unable to work fast enough to prevent your butter from warming, then you need to put your butter and the dough you’re working on in the freezer for a few minutes so that they can both chill again.
Your water should also be ice cold when making your dough.
I actually use ice water when making my pie crust doughs in order to ensure that my water stays cold throughout the entire time I may need to use it.
If you’re using milk instead of water, then it should also be cold, but I do not recommend putting ice in it as the ice will water down your milk as it melts.
Like with your butter, if you find that your milk or water is warming up faster than you can make your dough, then I recommend that you put your liquid of choice and your dough into the fridge or freezer just long enough for them to cool again.
As for why your dough should stay cold, it’s because keeping your dough chilled makes the fat in it more of a solid which prevents the likelihood of your dough shrinking.
*By the way, I recently wrote about How To Effectively Use Pie Weights The Right Way. In this article, I speak about how to use pie weights correctly to get the perfect shaped pie every time. You can check out this article here!
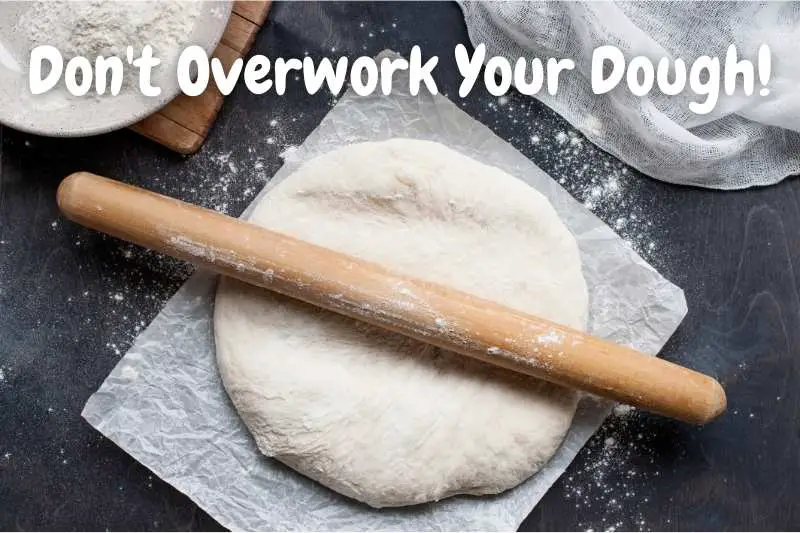
3. Don’t overwork your dough
As a whole, pie crust dough can shrink because of overworking the dough. This is especially the case if you are using a food processor rather than your hands. Overworking the dough can cause it to become hard and tough which increases the chances of the pie crust dough shrinking.
when you make batter for cakes, you only need to mix the ingredients until they are just combined. The same concept can be said about pie crusts.
With pie crusts, in particular, it’s okay if there are some bits of solid butter or other fat visible. This is actually preferred as it will melt into delicious pockets of a flavorful crust.
You just need to mix your pie crust dough until the ingredients stick together.
*Side Note: You might also be interested in knowing If It Is Possible to Bake a Pie to be Square. I recently wrote an article that talks about How To Bake A Square Pie, which you can check out here!
The more you work your dough beyond that point, the more your run the risk of not only your dough shrinking but also it becoming harder and tougher to eat.
4. Gently place your dough into its pan
As a general rule, a reason why pie crust has shrunk is from forcing it into a pan and constantly reshaping it. When handling the crust too much in the baking pan, it is the equivalent of over-kneading your dough. Instead, gently ease your crust onto the pan and gently press the dough into the form.
The more you stretch pie crust dough, the more it stretches back, so if you want to avoid it shrinking, then when you’re putting it into its baking pan, you need to avoid stretching it as much as you can.
To aid you in this goal of not over-stretching your dough, I recommend you roll it out until it’s large enough to cover the entire pan you’re putting it in.
If you have excess dough on the edges of your pan, that’s great as you can easily trim it to your desired shape around the pan.
It’s better to have too much excess dough around your pan than too little dough in your pan.
You can easily trim it to your desired shape or size with relative ease, but if you have to stretch a little dough out into a lot, then you run the risk of having a severely shrunken crust come out of your oven.
*By the way, I recently wrote an article about How To Bake A Pie Without A Pie Pan. This article talks about all the substitutes you can use instead of a pie pan and what you should do differently with each substitute. You can check out this article here!
5. Preheat your oven
Generally speaking, an important way to avoid your pie crust from shrinking is to ensure that your oven has reached the right temp and has stayed at that temp for a while before putting your pie crust in. Failing to do so can lead to your crust melting before it’s baked and shrinking in the process.
*By the way, I recently wrote an article about Which Oven Rack Should You Use To Bake A Perfect Pie. This article breaks down what happens when you bake a pie in all the oven racks and why one might be better than the others. You can check out this article here!
One major reason why your pie crust keeps shrinking is that your oven’s temperature is too low.
To help prevent you must first make sure you preheat your oven and then second, let your oven continue to stay on at that temperature for at least 5 minutes before putting your pie crust in.
This ensures that your oven has truly reached the appropriate temperature.
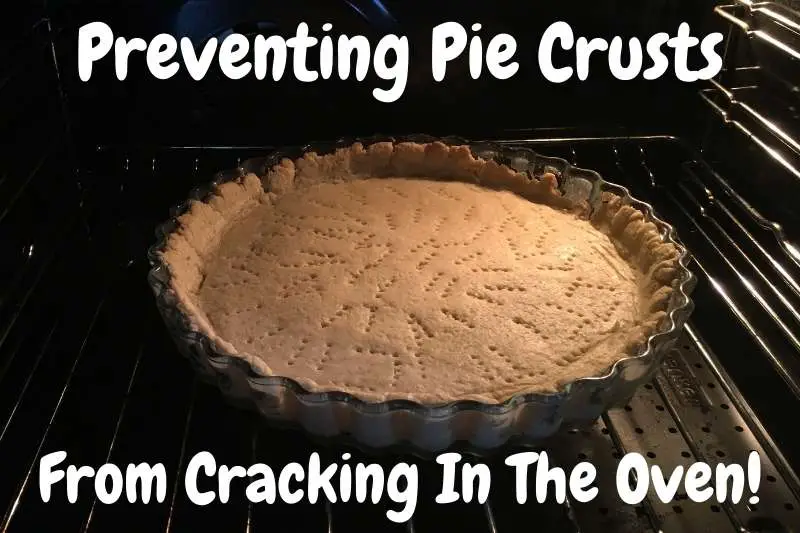
*Side Note: I recently wrote an article about How To Fix & Prevent Cracked Pie Crusts. This article talks about how to prevent pie crusts from cracking in the oven as well as how to fix it. You can check out this article here!
6. Don’t use too much water
As a general rule, your pie crust may shrink if you use too much water when making your dough. The excess water will evaporate while your dough is baking and cause it to shrink. When making your pie crust dough, follow the recipe exactly and don’t add too much water.
When adding additional bits of water to your dough as you’re trying to combine it as needed, I recommend adding it about a teaspoon at a time.
You can also potentially avoid needing extra water than the recipe initially calls for if you use the right quality butter as your fat in the recipe.
Also, make sure that you are using ice-cold water. Using lukewarm water can start melting your butter which will make it greasy. I usually prep a bowl or cup of water with a few ice cubes in it to keep it cold.
7. Set your pie crust using two pans
Generally speaking, one way you can avert your pie crust from shrinking is by using a pan to set your crust before you bake it. To do this, you need two pans that are the same shapes and sizes as you will place one onto the other in order to set your crust which will be in between the two pans.
I do this every single time I make a pie crust as this method has never failed me in the years I’ve done it since discovering it.
The way I do it is by spraying the bottom of the pan that’s going on top with a non-stick spray. Then, I place it onto my pie crust that I have already placed into another pan.
After that, I slightly press down on the top, and then I place my crust into the freezer to set for about 30 minutes.
Before baking or filling my crust, I remove the top pan and proceed as usual. This keeps the shape and holds when I put it in my pre-heated oven.
*Side Note: You might also want to know How To Bake Multiple Pies In The Oven At Once. I recently wrote an article that talks about The Right Way Of Baking Many Pies Evenly At Once!
8. Don’t use a glass baking dish
As a whole, a simple and fixable reason why your pie crust is shrinking is that you’re baking it in a glass dish. You can prevent your pie crust from shrinking by putting it in a ceramic or metal pan instead. Glass doesn’t conduct heat well which causes the dough to lose heat rather than retain it.
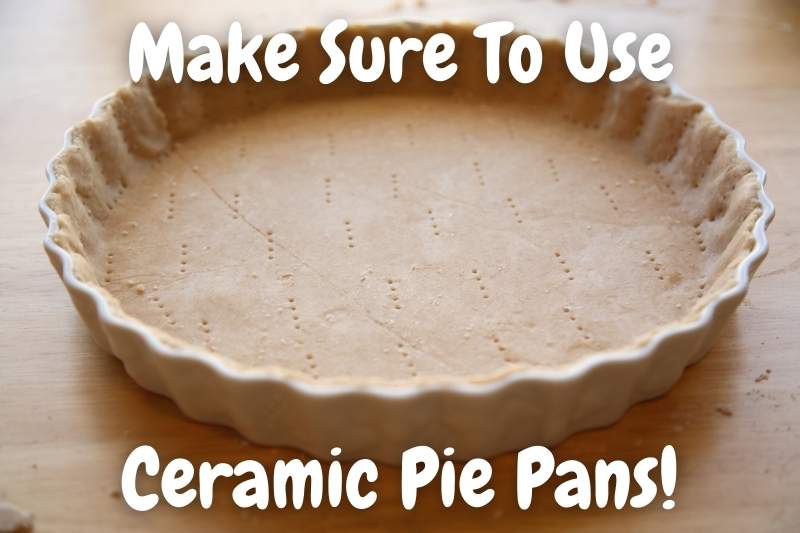
I usually specifically look for Ceramic Pie Pans when baking pies. I recently came across a Set of Two Ceramic Pie Pans for Baking that work perfectly for baking pies in the oven with no problem. You can check out this Set of Ceramic Pie Pans on Amazon!
Glass is an especially slippery surface with little grip, so if you bake your pie crust in a glass baking dish, your pie crust may slip down and shrink. You can avoid this by changing the type of pan that you bake your crust in.
Also, because glass isn’t a good conductor of heat, heat will escape the dough during the baking process instead of retaining it. As a result, the dough can shrink.
What is Blind Baking?
Blind baking is when you fully or partially bake your crust before putting its fillings in. Doing so will prevent the from overbaking some pie fillings that require less bake time than the crust itself. Pre-baking also prevents the pie crust from getting soggy while in the oven with wetter fillings.
I do this with the overwhelming majority of crusts I make as I’ve found blind baking to have a number of great benefits regardless of whether I’m a savory or sweet dish.
These benefits include lowering my risk of having soggy crusts when making things with wetter fillings, I lessen my likelihood of overbaking what I’m trying to make when it has a filling that doesn’t need to bake as long as the crust does, and I decrease my probability of crust not being fully baked.
Additionally, sometimes blind baking is necessary when making no-bake treats that have a crust like one of my personal favorites: no-bake lemon icebox pie.
