
This post contains affiliate links.
I think it’s safe to say that one of the most precious treasures of the culinary world is chocolate. It comes in all shapes, flavors, and sizes. However, one of the confusing things about chocolate is knowing how and when to temper it.
As a general rule, tempering chocolate is important to achieve a glossy and smooth finish. Cocoa butter starts to crystallize when tempering, causing a change in texture from cakey and soft to a crisp one. This is done by heating up the chocolate and making sure to constantly stir.
Learning how to properly temper chocolate has made all of my delicious creations look so professional! I have found a few different ways to temper chocolate, read on to see which works best for you.
How To Temper Chocolate? (Step-By-Step)
As a whole, tempering chocolate makes it smooth and glossy while also preventing it from developing a waxy texture that happens when the fat in cocoa separates out. When you bite into tempered chocolate, there’s a snap to it, and the chocolate is slightly crisp.
There are many effective ways to temper chocolate. Here is a list of the most effective ways:
- Double-boiler Method
- Microwave Method
- Marble Slab Method (Tablier Method)
- Seeding Method (Inoculation Method)
- Sous-vide Method
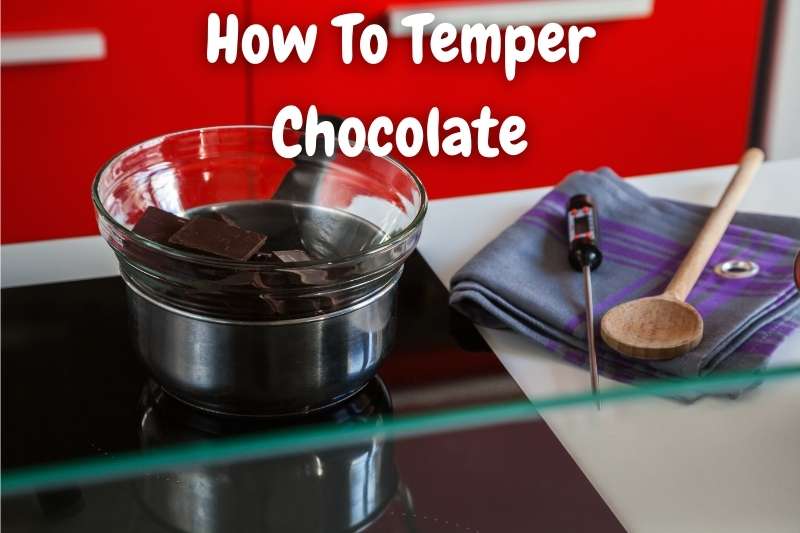
Double-Boiler Method
To temper chocolate this way, start by either finely chopping your chocolate or grating it with a cheese grater. Add the chocolate to the double boiler’s top pan.
Two-thirds of your chocolate is sufficient. Then, heat that chocolate over hot water (the water should not be boiling).
You should constantly stir your chocolate until it reaches a temperature of at least 110°F (43°C) and no more than 115°F (46°C).
Once your chocolate reaches that temperature range, then you should place the top pan onto a towel and cool the chocolate until it reaches at least 100°F (37°C) and no lower than 95°F (35°C).
Once the chocolate is cooled, then feed in your remaining one-thirds of chocolate. Your chocolate is now tempered.
*By the way, the Double Boiler works great when you’re trying to melt something like chocolate while heating up other ingredients. I recently wrote an article that gives a breakdown of the 3 Best Double Boilers that people use in each stage of their baking journey.
After reviewing these double boilers, the Best Overall Double Boiler was the Stainless Series 2-Quart Covered Double Boiler which worked great for the dessert needs in my kitchen. You can check out this Double Boiler on Amazon!
Microwave Method
Tempering chocolate in a microwave is my favorite method to use since it’s so easy to do.
All you need to do to temper your chocolate in the microwave is first place two-thirds of your chocolate in a microwave-safe bowl and then microwave it on high for 30 seconds before stirring it.
Then, you need to microwave it again for another 20 seconds and stir. If more time is needed to melt the chocolate, then you should heat it for an additional 10 seconds and stir, and continue microwaving it in 10-second intervals if more time is needed.
You should continue to melt your chocolate in the microwave until small lumps of unmelted chocolate appear.
Once only small lumps of unmelted chocolate remain, then you should continue to stir the chocolate yourself without putting it back into the microwave.
Make sure to stir well after each interval as the heat remaining in the chocolate should be able to meet a decent amount of it without you needing to use the microwave too much.
Once all of your first batch of chocolate is melted, then you should add in your remaining one-thirds of chocolate.
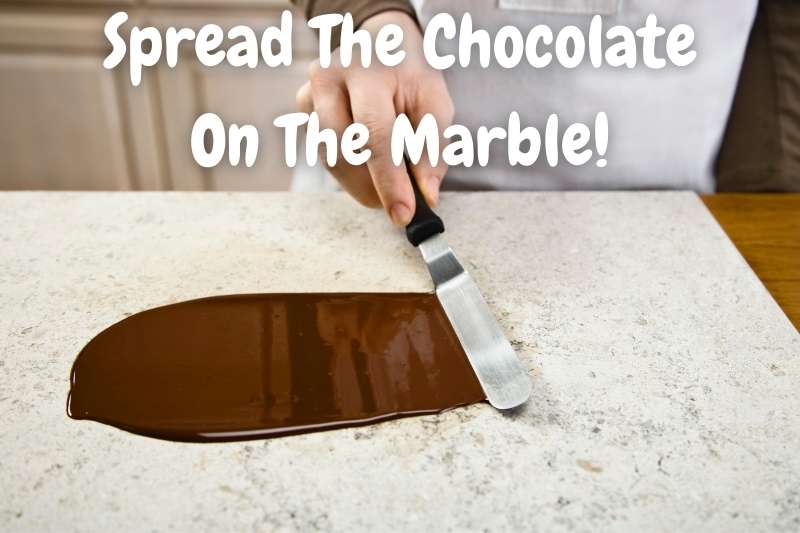
Marble-Slab Method
This method, also known as the Tablier method, is one of the more classic techniques used by professionals that you can do in the comfort of your home.
It is preferred to do this method on a marble countertop because it helps retain heat better but you can use any smooth surface. I actually bought my own marble pastry board just for this reason because I don’t have marble countertops!
When I need to use a marble surface for tempering chocolate or rolling out pastry dough, I use the Fox Run 3829 Marble Pastry Board. This marble board has never let me down and is perfect for anyone who doesn’t have a smooth flat marble countertop. You can check out this Marble Board on Amazon!
To begin, chop your chocolate to make it easier to melt. Melt over a double boiler until it is nice and uniform in texture.
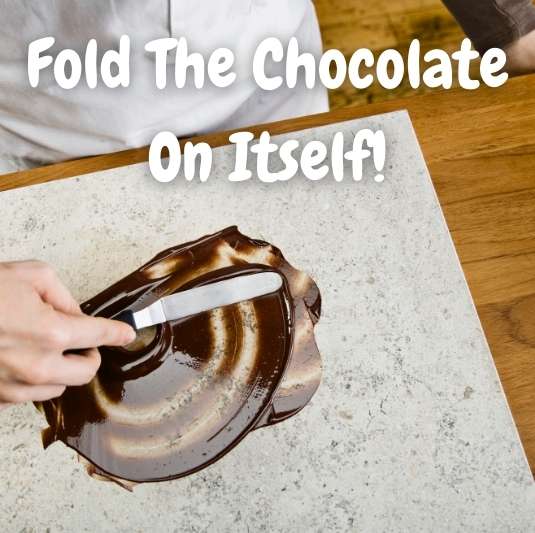
Now here’s the interesting part; pour about 1/3 of your melted chocolate directly on your counter or marble pastry board. Using a pastry scraper or rubber spatula, smooth out the chocolate and scrape it around.
Using a candy thermometer, once your chocolate is around 83°F add it back to your bowl of melted chocolate.
The best way to see if you have successfully tempered the chocolate is by checking its sheen, or glossiness. Add some chocolate onto parchment paper and put it in the fridge for a minute or two. If it’s nice and glossy, you have tempered chocolate like a pro!
Seeding Method
The seeding method, or the inoculation method, is one of the simpler methods of tempering chocolate. When I’m short on time or patience, I always choose this method.
First, set up your double boiler for melting the chocolate. Roughly chop the chocolate as you usually would for melting chocolate.
Here’s the important part: Only add about 2/3 of your chocolate to the double boiler.
Once the chocolate is fully melted, slowly add the rest of your chopped chocolate to the melted chocolate.
At this point, the main focus is the temperature of your chocolate. As you add the chunks of chocolate, the temperature will slowly decrease. Keep mixing until you reached the appropriate temperature (see table below for temperatures).
Now that you have reached the appropriate resting temperature, we need to slightly reheat the chocolate to get it to working temperature. All you need to do is re-boil your water for the double boiler and pay attention to the temperature. Once you’ve reached the right temperature, it’s ready for use!
Here is a table for the initial and reheating temperatures for different types of chocolate:
| Type of Chocolate | Initial Temperature | Re-Heat Temperature |
|---|---|---|
| Dark Chocolate | 84°F/29°C | 90°F/32°C |
| Milk Chocolate | 81°F/27°C | 87°F/30°C |
| White Chocolate | 79°F/26°C | 83°F/28°C |
With this table, you should be able to temper your chocolate regardless of its type!
Sous-Vide Method
For a more hands-off method to perfectly tempered chocolate, whip out your trusty sous-vide cooker! Chop up your chocolate and place it into a sealable freezer bag.
To get the air out, close the bag almost all the way, leaving a slight opening. Press and fold the bag until the air is out. Make sure to properly seal the bag!
Water can cause many issues when melting and tempering chocolate.
Place the bag of chocolate into your sous-vide cooker at 115°F (or 47°C). Let it sit for 5-7 minutes. To make sure the chocolate is uniformly melting, carefully take the bag out and squish the chocolate around with your hands.
This will disperse any clumps of chocolate throughout the bag.
Place it back into the water bath and lower the temperature (refer to the table above for temperatures under “re-heat temperature”).
Once you have reached the appropriate temperature for your chocolate, it’s ready for use!
*Side Note: You might also want to know The Right Way to Melt Chocolate Without Burning It. I recently wrote an article that talks about the Different Ways to Melt Chocolate Correctly, which you might want to check out!
How Do You Know If Chocolate Is Tempered?
As a general rule, tempered chocolate has a shiny and firm appearance. Tempered chocolate has a smooth texture and snaps when broken rather than crumbling into pieces. To test, dip a utensil into the chocolate and let harden. If it hardens within a few minutes, it is tempered.
You can test to see if chocolate is tempered while it is still in liquid form! Simply take a utensil, like a spoon or a fork, and dip it into the chocolate. Place it onto a surface and allow it to cool to room temperature. If the chocolate hardens within a few minutes, then it has been tempered.
If you want to know if solid chocolate is tempered, use your senses to find clues.
If the chocolate has a nice, glossy finish and has a very smooth finish; it is tempered. Another great way to tell is by the way it breaks. When you have untempered chocolate, breaking it will result in a crumbly mess. However, tempered chocolate has a satisfying snap to it!
*By the way, you might also want to know How To Store Melted Chocolate To Make It Last. I recently wrote an article that talks about The Best Way To Store Melted Chocolate, which you can check out here!
How To Temper Chocolate Without A Thermometer?
As a whole, tempering chocolate can be achieved by heating chocolate in the microwave. Add chopped chocolate to a bowl and microwave. Stir until melted. Add extra chopped chocolate and stir until fully melted. Scoop out any chocolate that has not completely melted.
If you do not have a thermometer, you are still able to temper chocolate! I would recommend using a microwave to melt chocolate so that you can regulate the temperature a bit better. Place the chopped chocolate into a microwave-safe bowl.
Microwave for a minute and then in 15-second intervals.
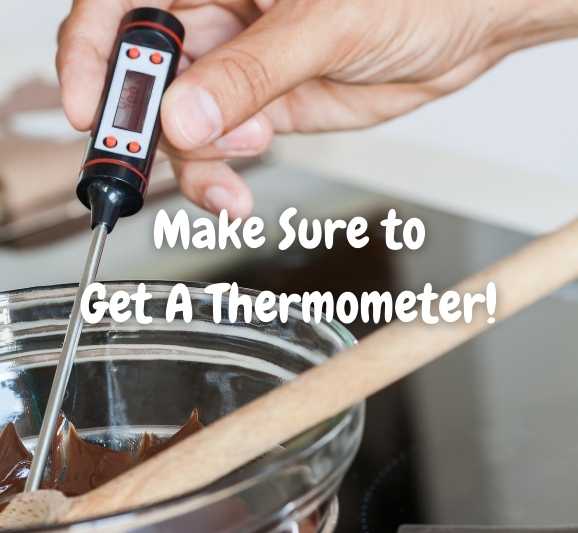
Try To Get Your Hands On A Thermometer For This!
With each interval, gently mix the chocolate. Keep microwaving until the chocolate has fully melted. Add your remaining chocolate and mix until melted. Do not reheat the chocolate! This will undo the tempering!
To do this, I prefer using a thermometer. I recently came across a Candy Thermometer with a Hanging Hook that works perfectly for this! I use this thermometer for pretty much anything I make in the kitchen that requires knowing the temperature. You can check out this thermometer on Amazon!
What is The Difference Between Melting Chocolate and Tempering Chocolate?
As a general rule, the difference between melting and tempering chocolate is the crystal structure stability. As chocolate is melting, the crystal structure becomes very unstable. When tempering, chocolate is reintroduced into the melted chocolate which increases its crystal structure stability.
Melting chocolate is a simpler method; once you melt the chocolate it can be used for baking and such.
However, tempering chocolate requires an extra step of reintroducing solid chocolate or slowly cooling on a smooth surface.
The reason for this is when heated, chocolate molecules separate causing instability of its crystal structure on a microscopic level. Tempering chocolate allows the chocolate molecules to bond which gives it a more firm and glossy appearance.
*By the way, you also might want to see an in-depth article about Creative Things To Do With Leftover Melted Chocolate. I recently wrote this article breaking down all the ways to Use Leftover Melted Chocolate, which you can check out here!
Final Thoughts
I used to only use melted chocolate for every dessert I made. I was disappointed to see dull-looking chocolate-dipped strawberries so I decided to learn how to temper chocolate.
Tempering chocolate sounds like it is hard but it’s not! This article allows everyone to have a chance to learn different methods of chocolate tempering and have glossy, gorgeous desserts.
