
This post contains affiliate links.
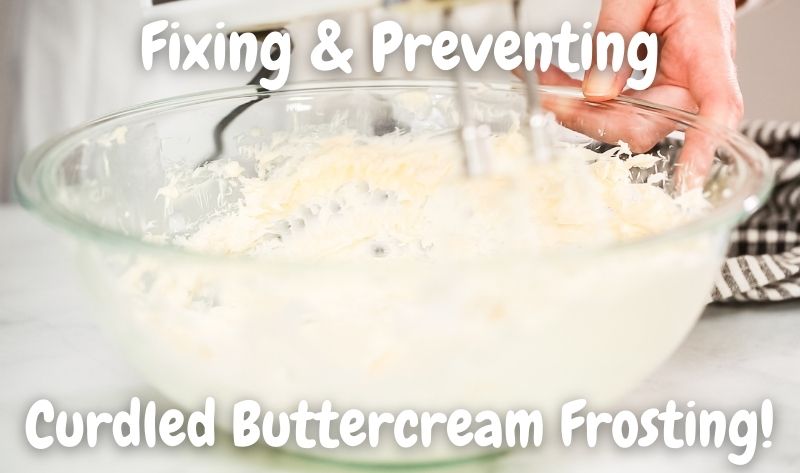
Is your buttercream curdled? This can be a frustrating problem to fix, but it is not impossible! I have found a few reasons why buttercream curdles so read on for some tips for fixing and preventing curdled buttercream.
Buttercream frosting becomes curdled because of various reasons including too much liquid, too much fat, incorrect temperature, overbeating, and adding the wrong ingredients. To fix curdled buttercream, you need to identify the cause and then make the necessary adjustments.
I found the hard way that there are many factors that can result in curdled buttercream frosting. But don’t panic, there are solutions!
Why Does My Buttercream Frosting Look Curdled?
While I like to do my mixing by hand, I much rather prefer using a Stand Mixer instead. I recently wrote an article that talks about the 3 Best Stand Mixers that bakers can buy in each stage of their baking journey. After reviewing a few stand mixers, the Best Overall Mixer was the KitchenAid Artisan Tilt-Head Stand Mixer. You can check out this stand mixer on Amazon!
If your buttercream is curdled, it is likely because of one of the following reasons:
You used butter that is too cold
One of the major reasons for buttercream turning out curdled is using butter that is too cold. This makes the butter difficult to cream and can cause the buttercream to curdle. In general, the butter should be at room temperature before creaming it with sugar.
The stiffness of the butter causes clumps to form in the frosting which prevents it from being fully incorporated. As a result, the frosting curdles and forms a stiff texture.
If you are in a rush or forgot to take your butter out, here’s a quick and easy way to get room-temperature butter in minutes:
First, heat a bowl in a microwave for 20 seconds. Then, place the bowl over the cold butter like a cover. The heat will slowly bring the temperature of the butter up without melting it. Leave the bowl for 10-15 minutes; if the butter is still too cold, repeat the steps a second time.
*By the way, I recently wrote an article about How Long You Should Whip Egg Whites To Get Stiff Peaks. This article breaks down all the ways to get perfect stiff peaks every time! You can check out this article here!
Wrong butter-to-liquid ratio
I have found that one of the most common reasons for buttercream turning curdled is having the wrong butter-to-liquid ratio. When making buttercream, you need to use a certain ratio of butter to liquid in order to create a smooth and creamy frosting.
If you added too much liquid, the fat in the butter will separate from the solids and you will be left with a curdled mess. In order to fix this, you need to add more butter.
If you added too much butter, the frosting will be too greasy and also likely to curdle. In order to fix this, you need to add more liquid.
*By the way, I recently wrote an article that talks about Why Your Buttercream Frosting is So Runny. This article talks about how to fix runny frosting by making it thicker. You can check out this article here!
Incorrect temperature
Another reason for buttercream turning curdled is incorrect temperature. If the butter and sugar are not creamed together at the right temperature, it can cause the buttercream to curdle.
The best temperature for creaming butter and sugar is room temperature. If your kitchen is warm, you may need to refrigerate the ingredients for a while before creaming them.
When the temperature in your kitchen is too warm, it will melt your butter quicker and cause a very greasy frosting. I recommend refrigerating your ingredients for a few minutes including your bowl.
If you notice that during the process your buttercream is starting to curdle because of the warm environment, place your bowl into the fridge for 10 minutes and beat the frosting on medium-low speed.
*Side Note: I recently wrote an article that talks about Why Your Buttercream Frosting is So Shiny. This article talks about how to fix shiny frosting by making it less greasy. You can check out this article here!
Overbeaten buttercream
If you overbeat the buttercream, it can also cause it to curdle. Overbeating the butter will incorporate too much air into the mixture and this can cause the fat and solids to separate.
When making buttercream, it is ideal to beat your frosting for 4-5 minutes on medium speed after successfully creaming the butter and sugar.
The appearance should change the yellow color of the butter to a pale, light color. That’s a clear indicator that your buttercream has reached the correct texture.
How Do You Fix Curdled Buttercream Frosting?
Fixing buttercream frosting can be done by either heating or cooling the frosting. Depending on why your buttercream curdled, you can adjust the temperature to save it. For cold butter, gently heat it up in a water bath. For warm butter, place the bowl into the fridge for 10 minutes and beat again.
When my buttercream frosting curdles because of cold butter, I often place the frosting into a heat-safe bowl and then put the bowl in a warm water bath. I stir the frosting occasionally until it is smooth.

Once the buttercream cream starts melting at the edges, give it a few more stirs and then put it back into the mixture. Whisk at low speed and gradually increase the speed until the buttercream is smooth.
If the buttercream has curdled because of heat, place your bowl into the fridge for 10 minutes. Take it out and beat for 1-2 minutes. If the texture is still too curdled, repeat the process.
*By the way, I recently wrote an article about Fixing Separated Buttercream Frosting. This article talks about why your buttercream frosting gets separated as well as why the color added into the frosting sometimes gets separated. You can check out this article here!
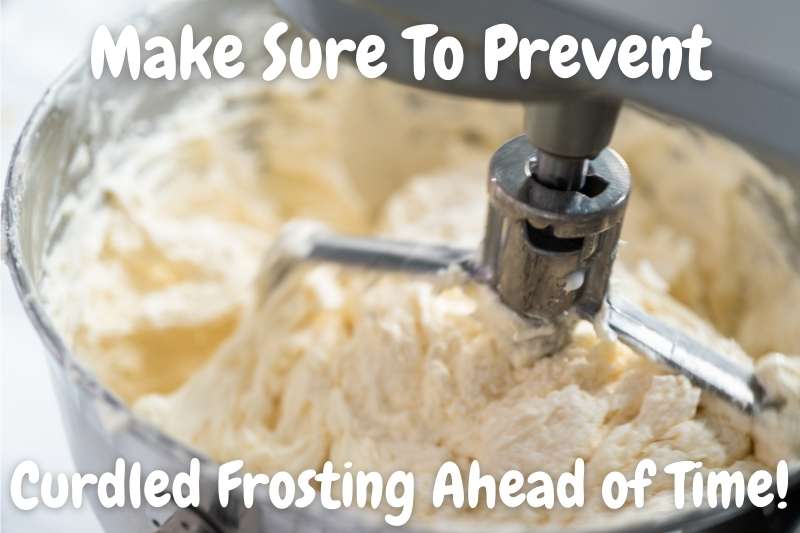
How Do You Prevent Curdled Buttercream Frosting?
As a whole, the best way to prevent curdled buttercream frosting is to get the ratios right. Make sure you are using the right amounts of butter, sugar, and liquid. Besides ratios, make sure your ingredients are at room temperature. Ingredients that are too hot or too cold can prevent curdling.
Another way to prevent curdled buttercream is to make sure all of your ingredients are at room temperature before you start creaming them together.
If everything is at the same temperature, it will be easier to cream them together correctly.
*By the way, I wouldn’t be able to fix my runny buttercream frosting if I didn’t have the right type of mixer. For this situation, I used a 5-Speed Electric Hand Mixer which can get the job done! You can check out the Hand Mixer I use on Amazon!
You should also avoid overbeating the buttercream. Just like with overmixing cake batter, overbeating the buttercream will incorporate too much air into the mixture and this can cause the fat and solids to separate.
How Long Should I Beat My Buttercream Frosting?
As a general rule, you should beat buttercream frosting for about four to five minutes to typically get a good result. If you are beating the buttercream for too long, it may easily become curdled. The best indication is to look at the color. Once the color turns a light, pale color, stop beating.
Can you overbeat buttercream Frosting?
As a whole, it is possible to overbeat buttercream. This is the result of going over the preferred amount of mixing time for the frosting. The frosting separates when too many bubbles are added which causes it to break. Instead, beat at a medium speed for 4-5 minutes to prevent this.
When you are mixing buttercream, you introduce a lot of air which allows the texture to become light and fluffy.
When too many air bubbles are added, the texture becomes extremely tough and as a result, separates.
To achieve the perfect texture, I typically beat my buttercream for about 4-5 minutes. I found that this is enough time to cream the butter and sugar as well as get the correct consistency.
The best tip I can give is that when you add butter, it has a very yellow color. Once you start beating the buttercream, wait for the color to become much lighter and paler. This is also an indicator that it’s ready.
*By the way, I recently wrote an article about Fixing Lumpy Buttercream Frosting. This article breaks down why your frosting might have lumps in it as well as how to fix and prevent lumpy frosting. You can check out this article here!
What does broken buttercream Frosting look like?
Generally speaking, broken buttercream looks like either a greasy mess or a curdled clump of butter. These two appearances depend on the temperature of the butter. Cold butter results in a tough texture and curdles. Warm butter makes it split and look greasy. Always use room-temperature butter.
Besides flavor, the texture of buttercream is super important to get right! The last thing you want to eat is grainy, stiff, slabs of buttercream off the sides of your dessert.
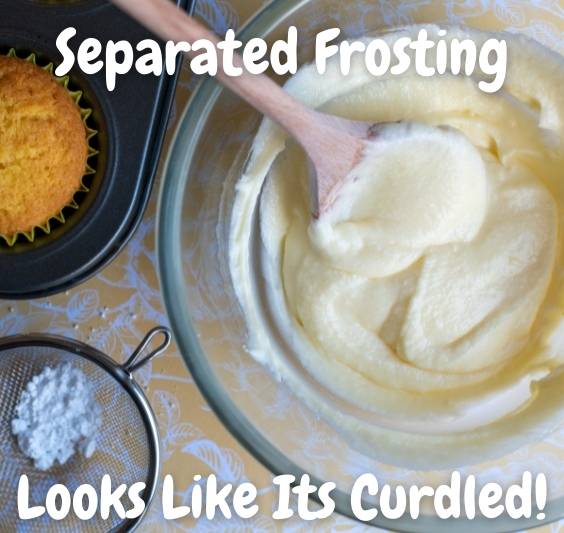
Curdled Frosting Looks Like It Separated!
When you use butter that is too cold, all of the ingredients will not be fully incorporated. As a result, the buttercream will have a curdled appearance with clumps of butter spread out.
When using butter that is too hot or melted, you will clearly see separation occur in your buttercream and it will cause a very greasy appearance and texture.
To prevent these situations, use room-temperature butter. Remember to take it out of your fridge at least 6 hours beforehand to have the perfect temperature and consistency of butter for your frosting.
*Side Note: I recently wrote an article that talks about Why Your Buttercream Frosting is So Grainy. This article talks about how to fix grainy frosting by making it smooth again. You can check out this article here!
Final Thoughts
Flavor and texture go hand-in-hand when working with buttercream frosting. It is my personal favorite because of the decadent and complex flavor it provides compared to regular frosting.
Knowing why your buttercream frosting has curdled will help prevent it from happening in the first place. I hope this article was helpful in explaining how to fix and prevent curdled buttercream!
