
This post contains affiliate links.
Do you know the feeling? You’ve baked an amazing cake and frosted it with buttercream icing, but when you take your first bite…yuck! The frosting is lumpy and gross. What went wrong? In this blog post, we will discuss some tips for fixing lumpy buttercream frosting.
As a general rule, buttercream frosting may become lumpy because of two things: the powdered sugar you used was not sifted or the butter was not softened. As a result, both the powdered sugar and the cold butter will clump and cause lumps. It is, however, easy to fix lumpy buttercream frosting.
In this article, I will be taking you through a few tips to help make your buttercream frosting smooth every time.
How Do You Fix Lumpy Buttercream Frosting?
Generally speaking, lumpy buttercream frosting can be fixed by three main methods. These methods include heating it in a microwave, beating it, or adding more liquid. Heat allows for the powdered sugar to be fully incorporated. Beating it or adding liquid will loosen the lumps in the frosting.
If your buttercream frosting is lumpy because the powdered sugar wasn’t sifted, you can fix it by heating it in a microwave. Place the frosting in a microwave-safe bowl and heat it for about 20 seconds. Stir the frosting and then heat it for another 20 seconds.
While I like to do my mixing by hand, I much rather prefer using a Stand Mixer instead. I recently wrote an article that talks about the 3 Best Stand Mixers that bakers can buy in each stage of their baking journey. After reviewing a few stand mixers, the Best Overall Mixer was the KitchenAid Artisan Tilt-Head Stand Mixer. You can check out this stand mixer on Amazon!
If the frosting is lumpy because the butter wasn’t softened, you can fix it by beating it. Place the frosting in a mixer and beat it on medium speed for about two minutes.
If it is lumpy because there was not enough liquid, you can add more liquid. Add one tablespoon of liquid at a time until the frosting is smooth.
How do you prevent lumpy buttercream frosting?
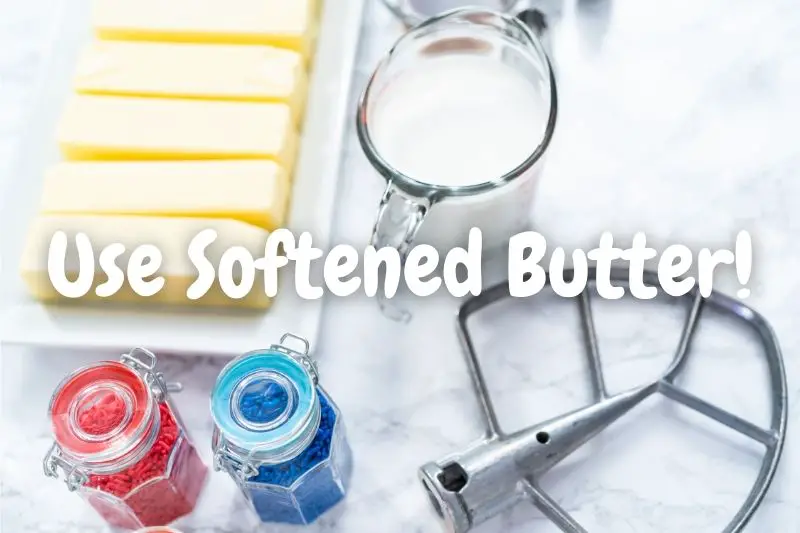
As a general rule, you can prevent lumpy buttercream by using softened butter and sifting the powdered sugar. Cold butter clumps up and does not incorporate well into the frosting. When powdered sugar is sifted, all clumps are broken up. As a result, lumps are prevented in the frosting.
One key thing to do to prevent lumpy frosting is to make sure you use softened butter. The best way to ensure you have the perfect temperature of butter is to leave it out overnight or at least 6 hours before using it.
If you are in a time crunch and forgot to bring your butter to room temperature, don’t panic! I have the perfect trick.
The best tool that I’ve found to sift my flour is a Battery Operated Electric Flour Sifter For Baking. This wonderful tool automates all of my sifting needs in the kitchen! It has a 4-cup capacity and is washable. What else do you need in an automatic sifter? You can check out this Electric Flour Sifter on Amazon!
Heat a microwave-safe bowl in the microwave for 20 seconds. Then, cover the butter with the bowl like a dome. The heat from the microwave will gradually bring the butter to room temperature. After 10 minutes, check to see the texture of the butter.
If it is not softened enough, repeat the process.
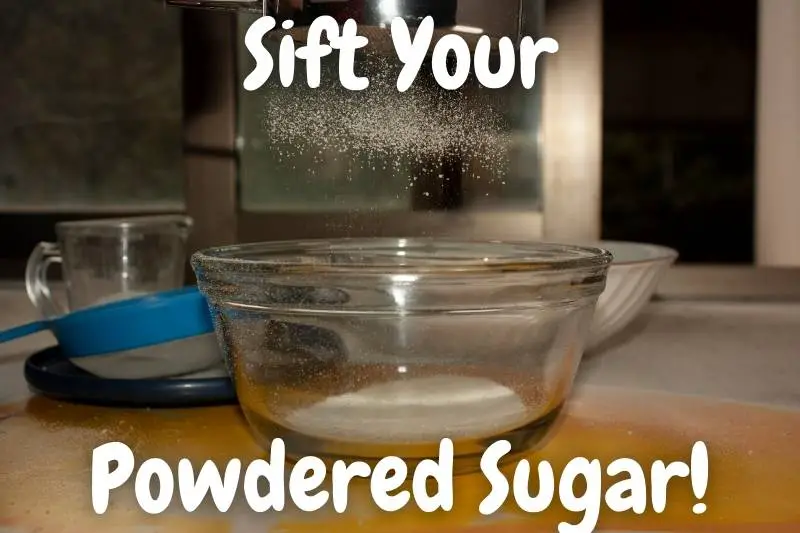
The second key reason for preventing lumpy buttercream is to sift your powdered sugar. When powdered sugar is added without sifting, all clumps of sugar are mixed into the frosting. As a result, pockets of powdered sugar form with frosting around it.
This creates those gross lumps we all dislike! Remember to always sift your powdered sugar!
*By the way, I recently wrote an article that talks about Why Your Buttercream Frosting is So Runny. This article talks about how to fix runny frosting by making it thicker. You can check out this article here!
How Long Should I Beat My Buttercream Frosting?
As a whole, you should beat buttercream frosting for about 3-4 minutes until smooth. One way to know that your buttercream is ready for use is by assessing the color. Since butter is yellow, beating it at medium speed should result in a pale, light color. This indicates that the frosting is ready.
However, depending on how fast or the power of your mixer is, you might need to beat it a little longer. I would suggest starting with three minutes and then increasing the time by one minute at a time until the frosting is smooth.
*Side Note: I recently wrote an article that talks about Why Your Buttercream Frosting is So Shiny. This article talks about how to fix shiny frosting by making it less greasy. You can check out this article here!
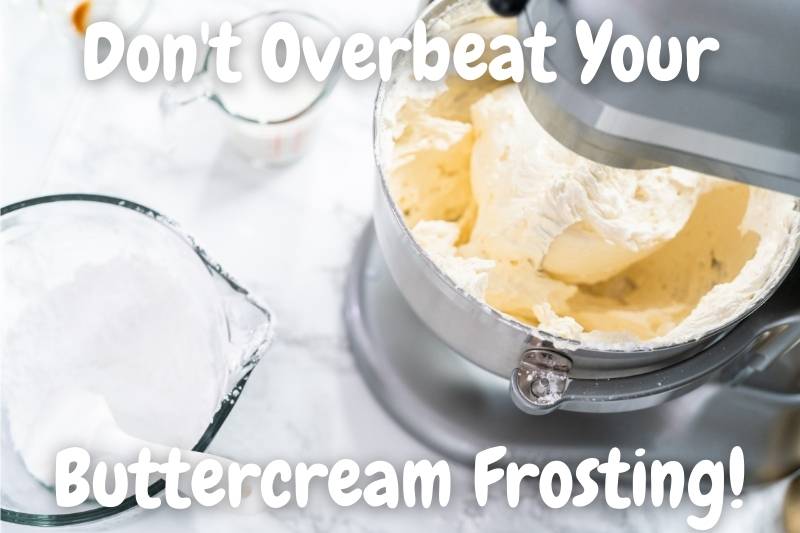
Can You Overbeat Buttercream Frosting?
As a general rule, it is possible to easily overbeat buttercream. Overbeating buttercream can cause it to become grainy or separated. You want to make sure to stop beating the buttercream as soon as it becomes smooth. Once the buttercream has turned a pale, light color, it is ready for use.
But how exactly do you know if your buttercream is ready?
*By the way, I recently wrote an article about Fixing Separated Buttercream Frosting. This article talks about why your buttercream frosting gets separated as well as why the color added into the frosting sometimes gets separated. You can check out this article here!
One way to tell is to look at the consistency of the frosting. If it has a light and fluffy texture, it is likely ready. Another way to tell is to do the spoon test. Dip a spoon into the buttercream and lift it out. If the frosting coats the back of the spoon and doesn’t drip off, it is ready.
My go-to method is also looking at the color of the buttercream. Butter naturally has a yellow color but once you start to beat it, it becomes this beautiful pale color which tells me that it is done.
*Side Note: I recently wrote an article that talks about Why Your Buttercream Frosting is So Grainy. This article talks about how to fix grainy frosting by making it smooth again. You can check out this article here!
What Does Broken Buttercream Frosting Look Like?
Generally speaking, broken buttercream will have two appearances that stand out. The first one is when the butter you use is too hot. As a result, the buttercream will split and look extremely greasy. When using cold butter, the buttercream will look curdled with clumps of butter throughout.
Broken buttercream frosting occurs because of two main reasons: the use of cold butter or butter that is too hot or melted.
When you use cold butter, it does not mix well when you beat it. Instead, it gets torn into smaller pieces and forms clumps. When you overmix, this causes broken buttercream and will curdle if you continue beating.
If you use hot butter or butter that is overly softened, your buttercream frosting will start to separate and become extremely greasy. In order to prevent either scenario, make sure to use softened, room temperature butter!
The best way to soften your butter is to leave the cold butter out overnight or at least 6 hours before use.
*By the way, I recently wrote an article that talks about Why Your Buttercream Frosting Became Curdled. This article breaks down how to fix and prevent your buttercream frosting from becoming curdled. You can check out this article here!
Final Thoughts
Buttercream frosting is so decadent and flavorful. It’s usually my go-to for cakes because of how delicious it is!
Lumpy buttercream frosting does not have to be the end of the world. With these simple tips, you can easily fix it and have smooth frosting every time.